

Selling your old iPhone isn’t just about finding a buyer and negotiating a price. Before you put your device on the market, there are several essential steps you need to take to prepare it for resale. Whether you’re trading it in, selling it for cash, or exploring buy-back programs, preparing your iPhone for resale is crucial to ensuring that your personal data is protected, and the transaction proceeds smoothly.
Understanding the Value of Your iPhone
When selling your iPhone, the first thing you’ll likely want to know is its value. The resale value of an iPhone depends on various factors, including its model, age, condition, and even the storage capacity. A recent model in good condition will fetch a higher price than an older model or one that’s suffered water damage or has a cracked screen. Remember, though, even iPhones in less than perfect condition have value and can be sold or traded in.
Several online tools and services can provide an estimate of your iPhone’s value based on these factors. However, it’s always a good idea to get quotes from multiple sources to ensure you’re getting a fair deal.
Step 1: Back Up Your Data
Before you begin the process of preparing your iPhone for resale, it’s crucial to back up all your data. This includes contacts, photos, videos, apps, and any other important data you don’t want to lose. You can back up your iPhone either through iCloud or your computer. Here’s how:
Backing Up with iCloud
- Connect your device to Wi-Fi.
- Go to Settings, tap on your name at the top, and then select iCloud.
- Scroll down and select iCloud Backup.
- Make sure iCloud Backup is switched on.
- Tap on Back Up Now and wait for the backup to complete.
Backing Up with Your Computer
- Connect your iPhone to your computer.
- If you’re using a Mac running macOS Catalina 10.15 or later, open Finder. On a Mac with macOS Mojave 10.14 or earlier, or on a PC, open iTunes.
- Select your iPhone when it appears in Finder or iTunes.
- Click Back Up Now and wait for the backup to finish.
Remember, it’s essential to keep your device connected to Wi-Fi or your computer until the backup process is completed.
Step 2: Sign Out of Accounts and Services
Once you’ve backed up all your data, the next step is to sign out of all accounts and services. This includes iCloud, the iTunes & App Store, iMessage, and FaceTime. Forgetting to sign out can cause problems for the next user and may even impact your ability to access these services on a new device. Here’s how to sign out:
- Open Settings and tap on your name at the top.
- Scroll down and tap Sign Out.
- Enter your Apple ID password and tap Turn Off.
- Choose which data, if any, you want to keep a copy of on your iPhone.
- Tap Sign Out twice to confirm that you want to sign out of iCloud.
To sign out of the iTunes & App Store:
- Open Settings.
- Scroll down and tap on iTunes & App Store.
- Tap on your Apple ID at the top, then tap Sign Out.
And finally, to sign out of iMessage and FaceTime:
- For iMessage, open Settings, scroll down and tap on Messages, then tap Send & Receive and tap on your Apple ID. After that, tap Sign Out.
- For FaceTime, the process is similar. Open Settings, tap on FaceTime, tap on your Apple ID, then tap Sign Out.


Step 3: Factory Reset Your iPhone
After signing out of all your accounts and services, the next step is to erase all content and settings from your iPhone. This will ensure the next user gets a ‘clean’ device, and all your personal data and information is securely erased.
To perform a factory reset:
- Open Settings.
- Tap General.
- Scroll down and tap Reset.
- Tap Erase All Content and Settings.
- If asked, enter your passcode or Apple ID password.
- Confirm that you want to erase your device.
This process may take a few minutes, so ensure your iPhone is charged or connected to a power source.
Step 4: Clean Your iPhone
Once your iPhone’s data is safely erased, the next step is to physically clean your device. This can enhance its aesthetic appeal and increase its resale value. Use a soft, slightly damp, lint-free cloth to wipe your device. Do not use cleaning products or abrasive materials as they could damage the finish.
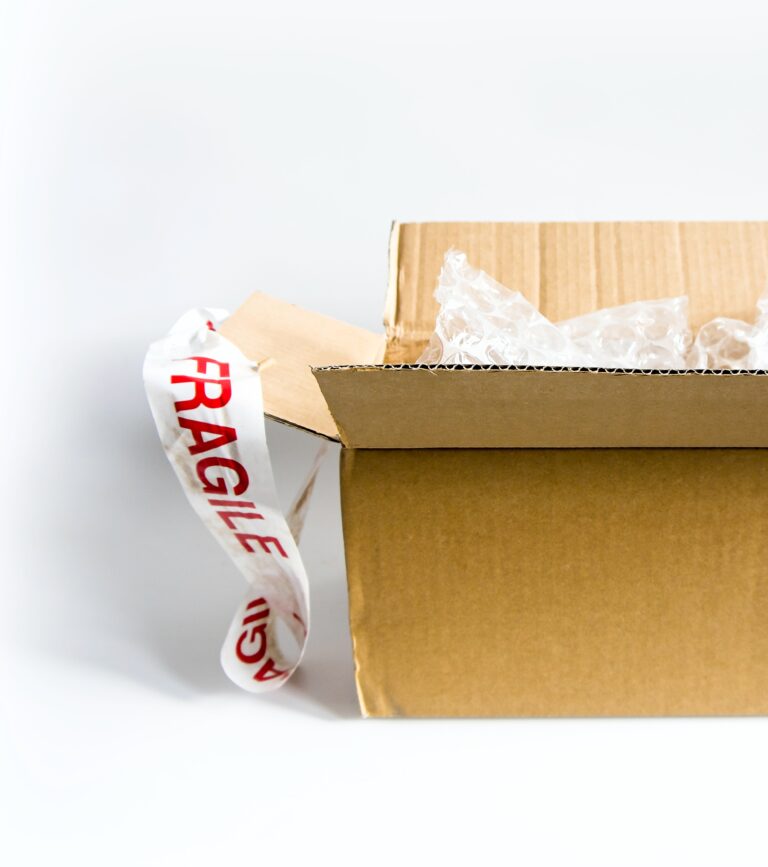
Step 5: Packaging Your iPhone for Sale
Proper packaging is crucial to ensure your iPhone arrives safely at its destination. Ideally, use the original box if you still have it. If not, wrap your device in bubble wrap or other protective material and place it in a sturdy box. Include any accessories you’re selling with the phone, like the charger or earphones, and secure everything to minimize movement during transit.
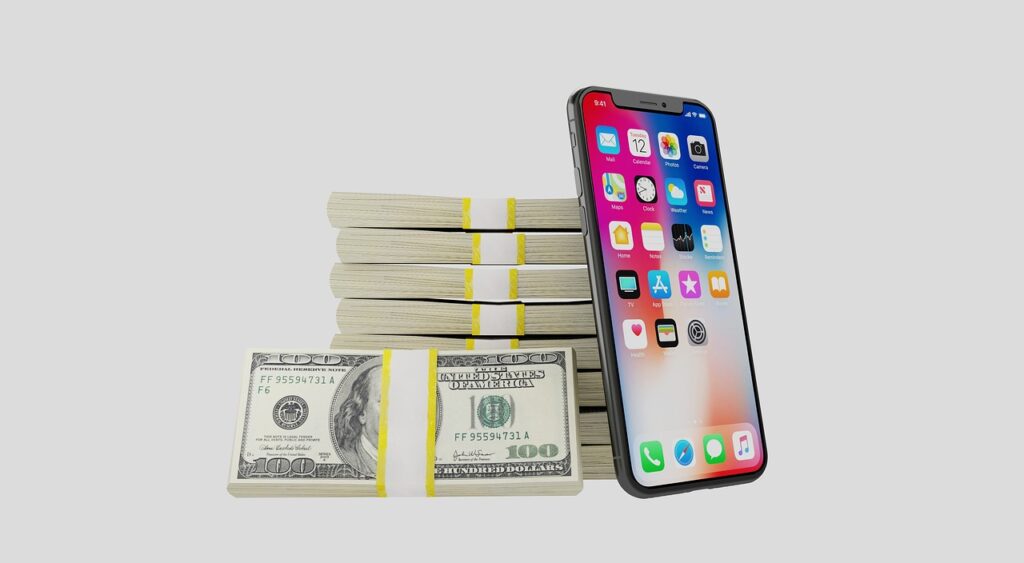
Selling Your iPhone: Trade-In, Sell for Cash, or Buy Back Programs
ow that your iPhone is ready for resale, the next step is to decide how you want to sell it. There are several options available:
Trade-In iPhone: Many retailers offer trade-in options, where you can exchange your old iPhone for credit towards a new device.
Sell iPhone for Cash: If you’d rather have cash, you can sell your iPhone directly to another user through online marketplaces.
Buy-Back iPhone Programs: Companies like ours buy used iPhones, offering a hassle-free process and immediate payment.
Each option has its benefits, so consider what works best for you. If you’re looking for a quick, easy, and reliable way to sell your iPhone, our buy-back program is the perfect choice.
Conclusion
Preparing your iPhone for resale may seem like a complex process, but by following these step-by-step instructions, you can ensure your data is secure, and your device is ready for its next owner. Whether you’re upgrading to the latest model or simply wish to sell your old iPhone for some extra cash, our buy-back program offers a simple, stress-free solution.
Remember, no matter the condition of your iPhone, it holds value. By selling it, you’re not only benefiting yourself but also promoting a more sustainable and circular economy. Start the process today and discover the true value of your device!